These artist’s notes are copyright to Graham Baker and may not be shared or copied without permission. Any enquiries, please email to grahambaker@gmail.com.
A neat technique we can use for layering Acrylics as oil painters do.
Layering is back, along with working wet on wet (Alla Prima), tonal management and detailing.
Process
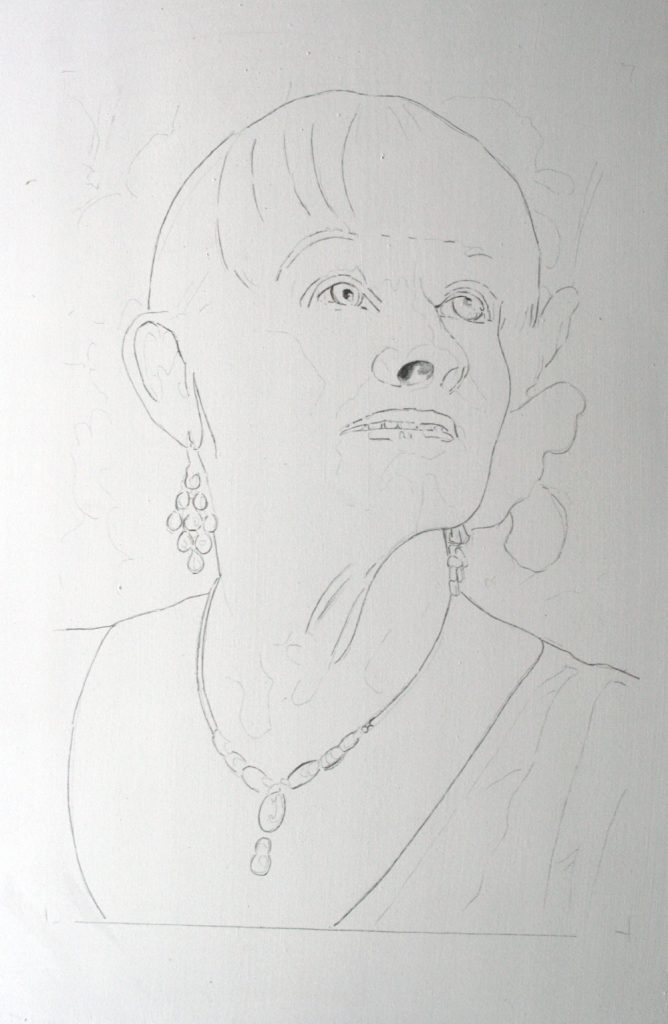
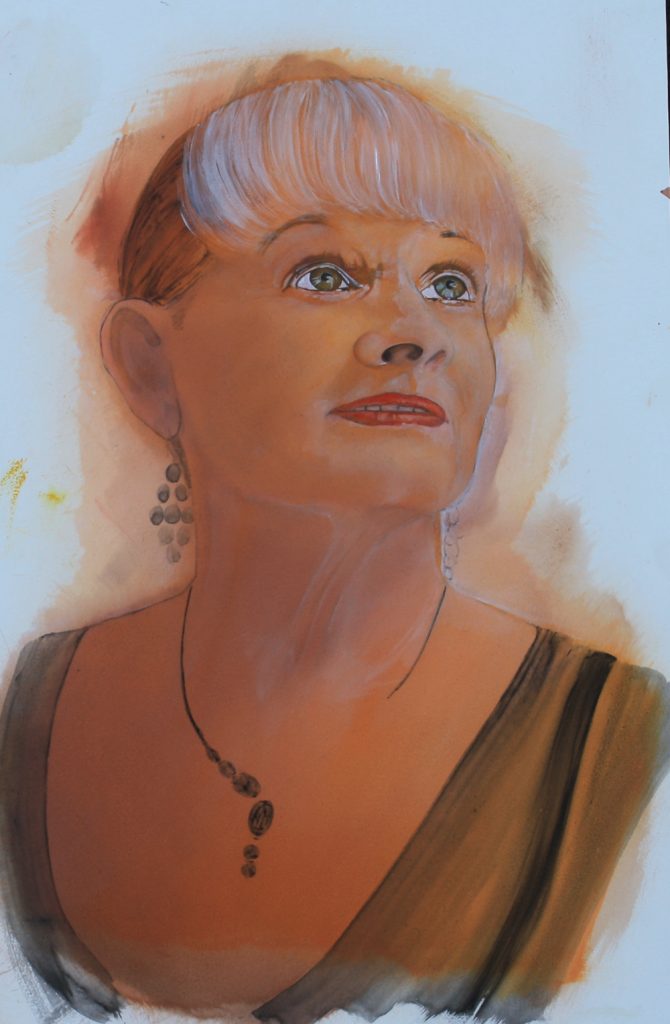
I draw up the grid, on paper, working from an A4 photocopy rather than a small photo. Transfer the paper copy with its soft charcoal lines by rubbing it onto the canvas to avoid a messy start. Go over the lines only with a pencil to avoid wiping them out with the first layer of paint and dust off surplus charcoal.
Layering
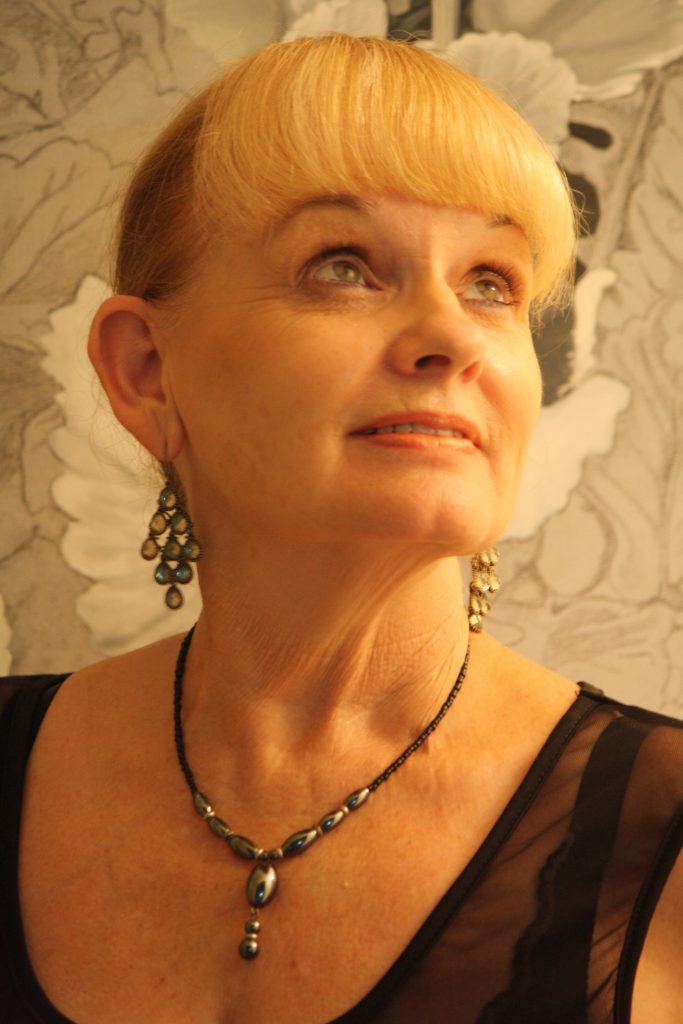
Look for the darkest and the lightest skin tones on our model and make a tonal strip with the darkest tone at one end and the lightest tone at the other.
The colour closest to the half way between the two is called the midtone.
This is my base colour for building skin tones.
I start with a little of the base mix on the palette with an extra puddle of an Acrylic additive ready, to mix in to slow the drying time. 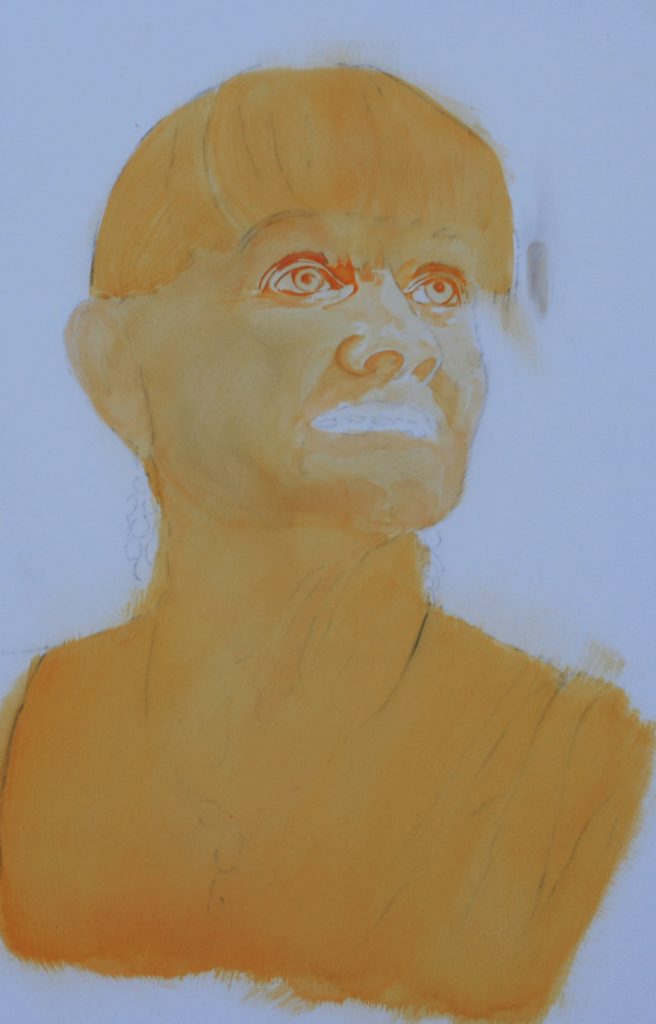
I may also thin the colour down with a little water to a very soft tone.
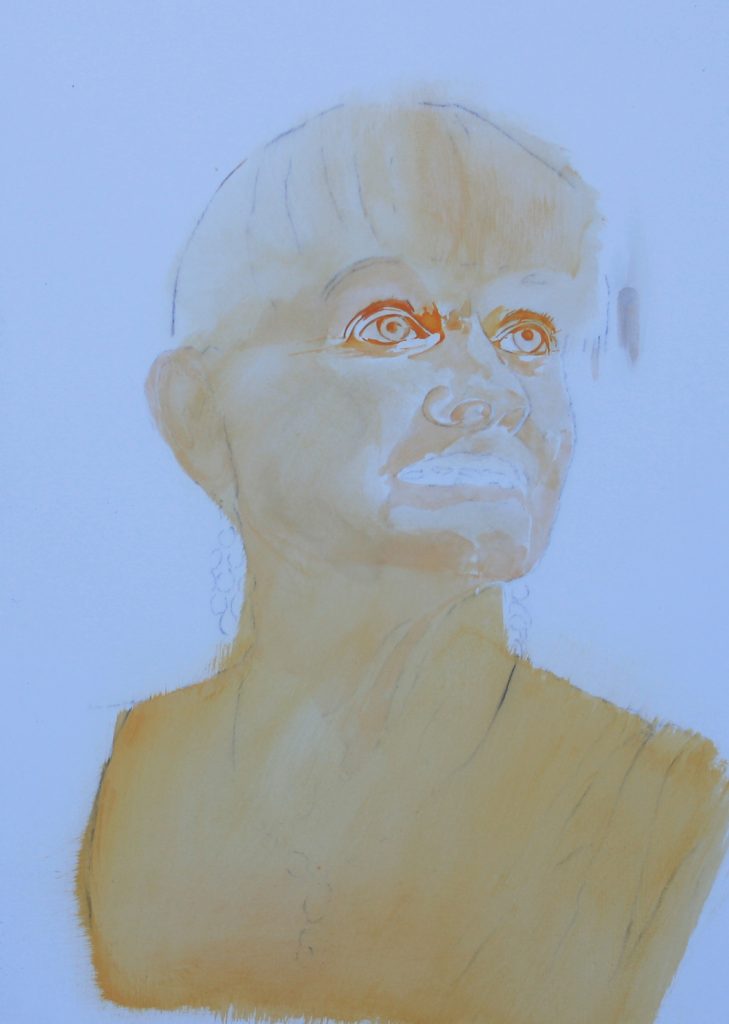
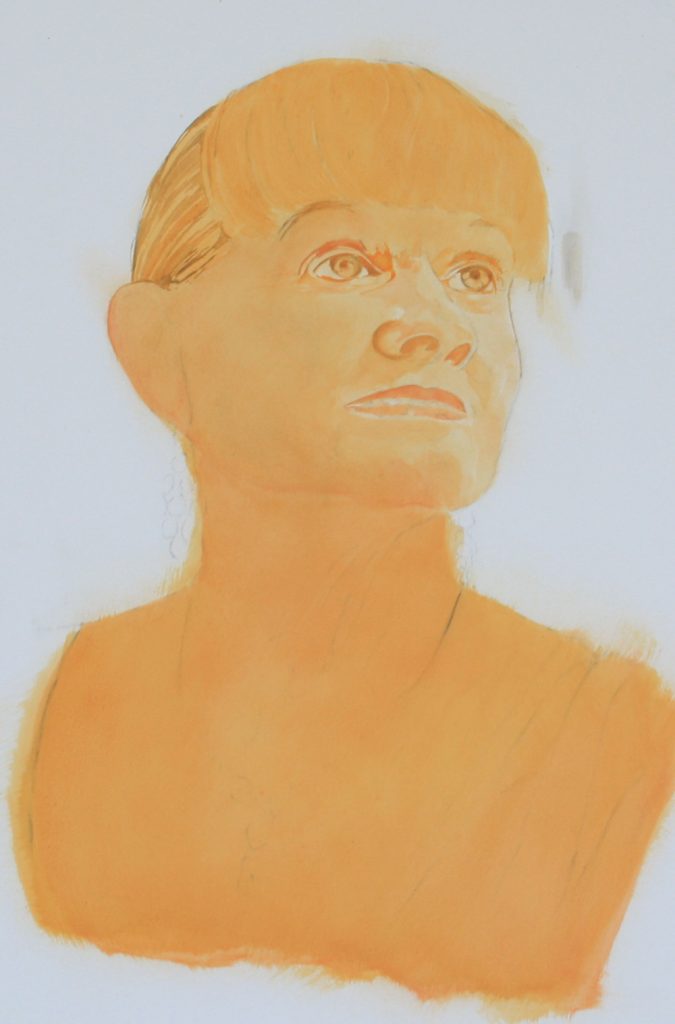
The first layer is applied over the darkest areas or shadow. As the colour goes on I brush a little of the clear additive over the negative spaces and merge the two seamlessly together until I have covered the entire face.
With each layer I add a little more of the original mix and repeat the exercise, building up tonal strength, blending wet on wet. Then I let it dry.
Next, I work around the shadows of the eyes, nose, mouth and hair before I lose too much of the original layout.
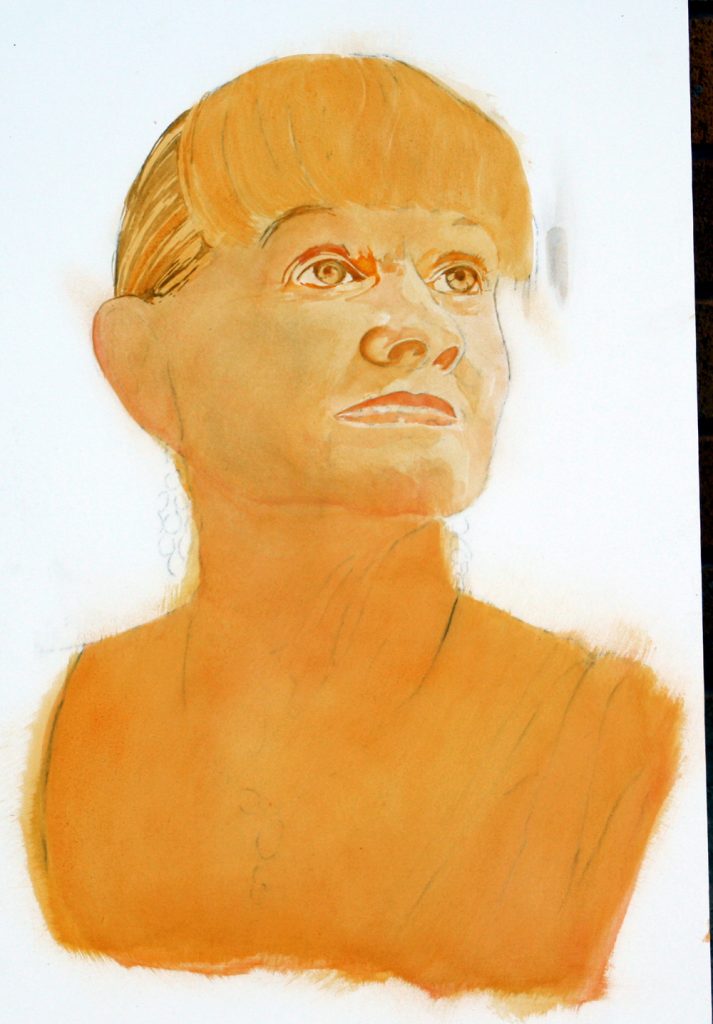

When you feel you need to stop, because you think you may lose control of the soft blends, take a break. Pick up a small brush and do a little detailing by working over and reinforcing the layout that is still visible.
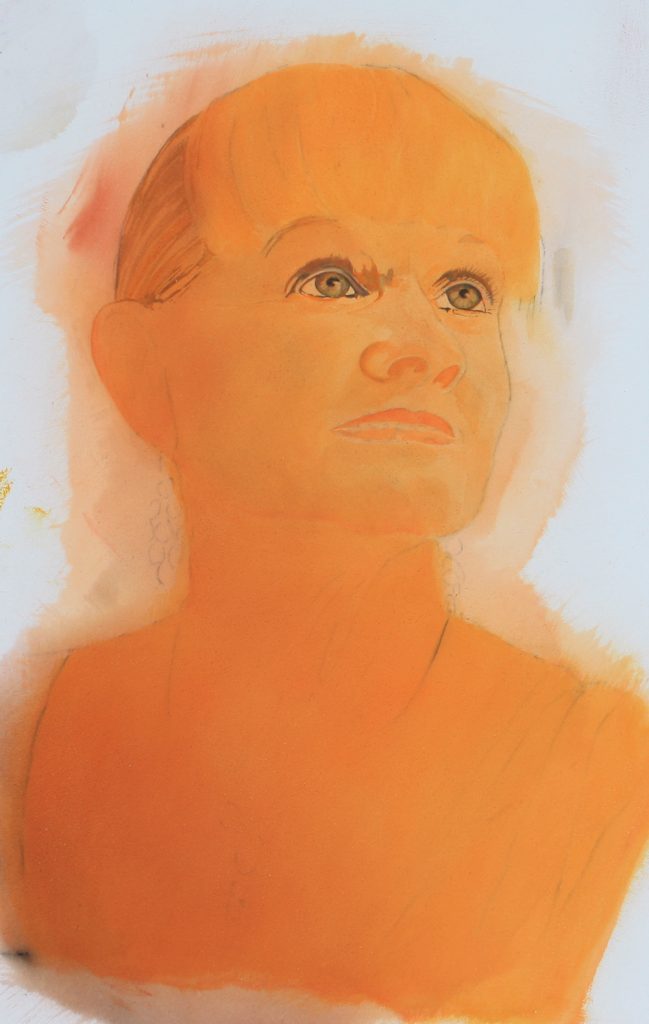
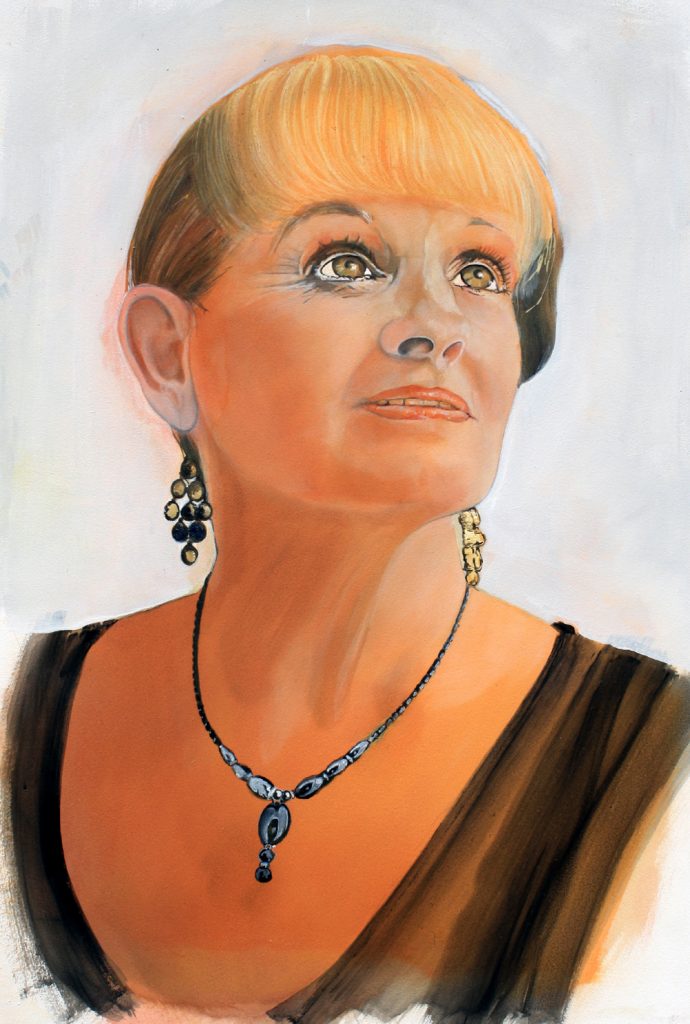
I have introduced a little colour to the lips and a translucent layer over the entire portrait to build stronger tones. Added more dark and light around the facial features and for the first time using the contrasting background to help define the shape of the head.
This then is the pattern for layering this painting. This is how a smooth transition between colours can be achieved with the brush, starting with translucent weak tones and building each layer with small steps merging them with their surroundings.
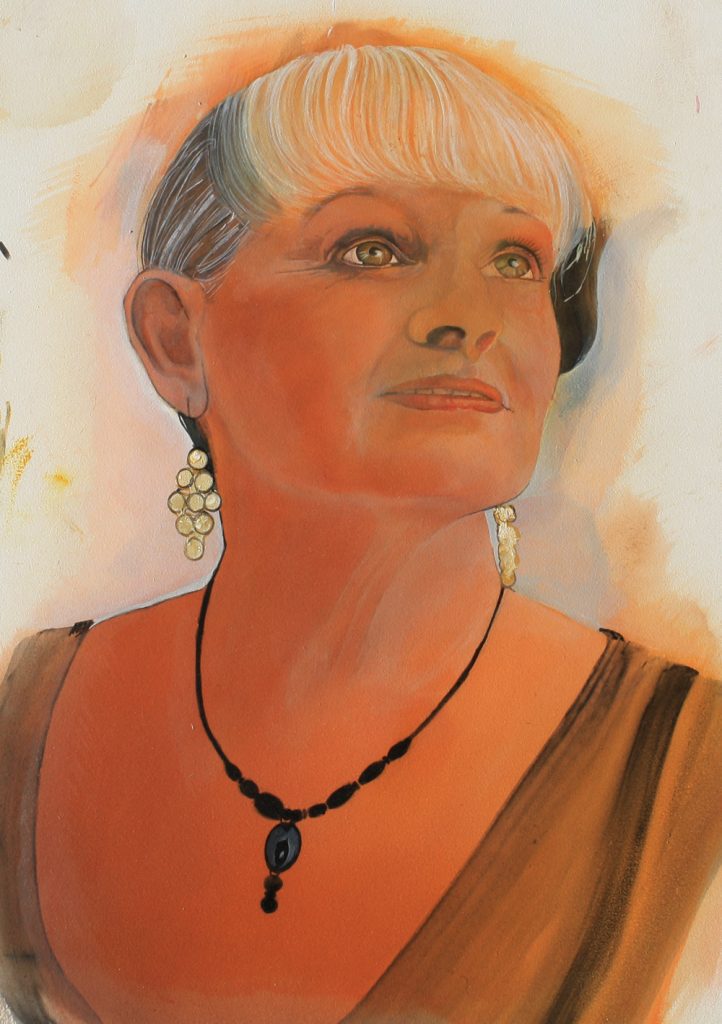
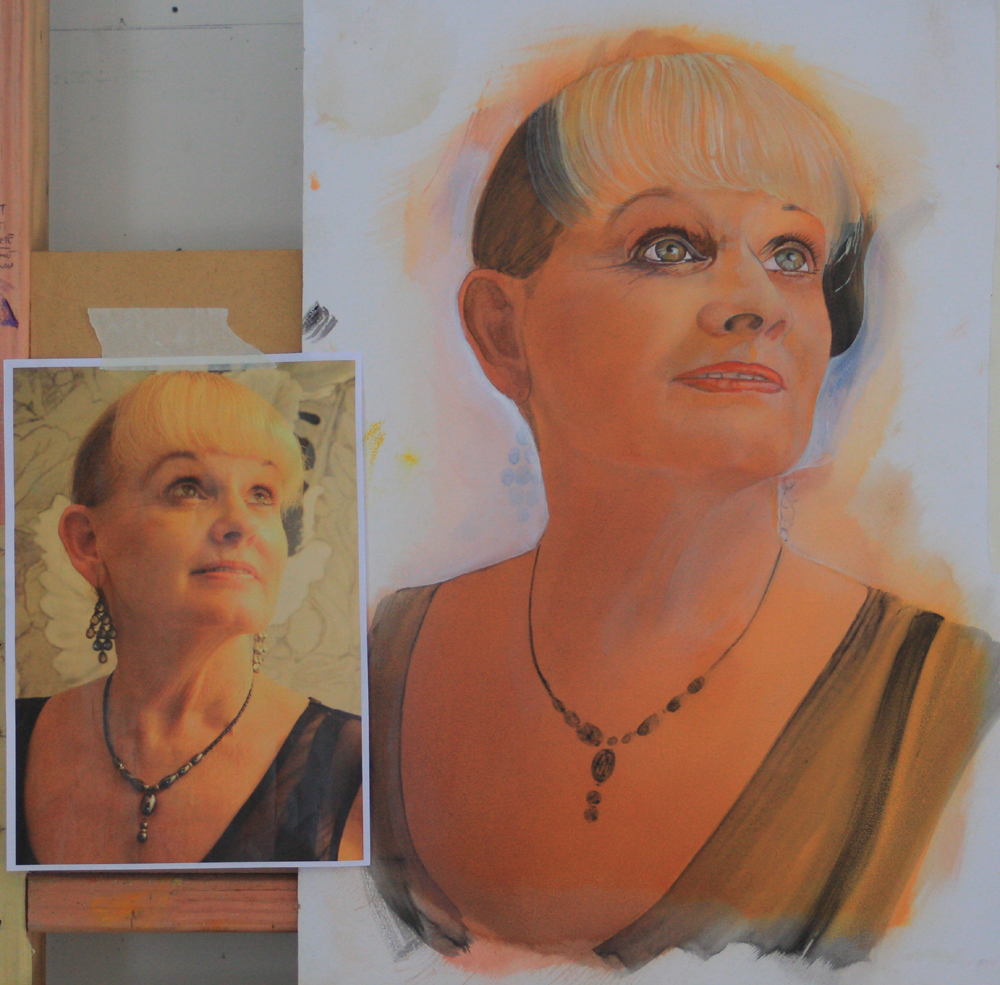
It is wise to work the same levels of tonal values on all the features of the face at the same time. I have left the ear behind. There can be no shortcut to fix it. I will have to build the layers up in the same order as the rest of the skin tones or it will never look right.
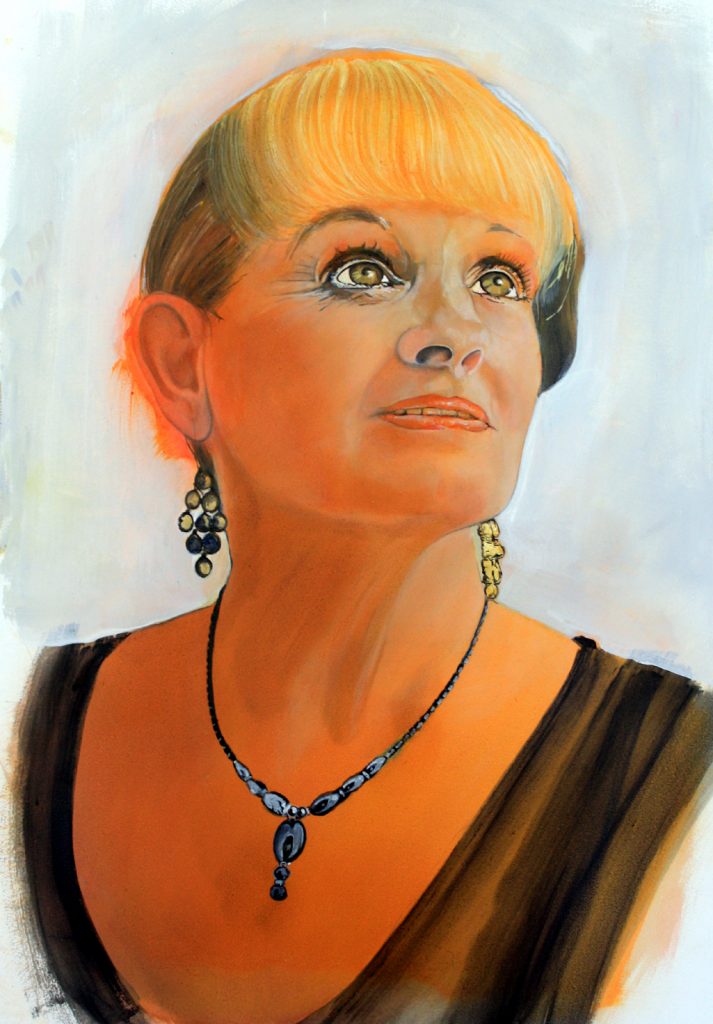
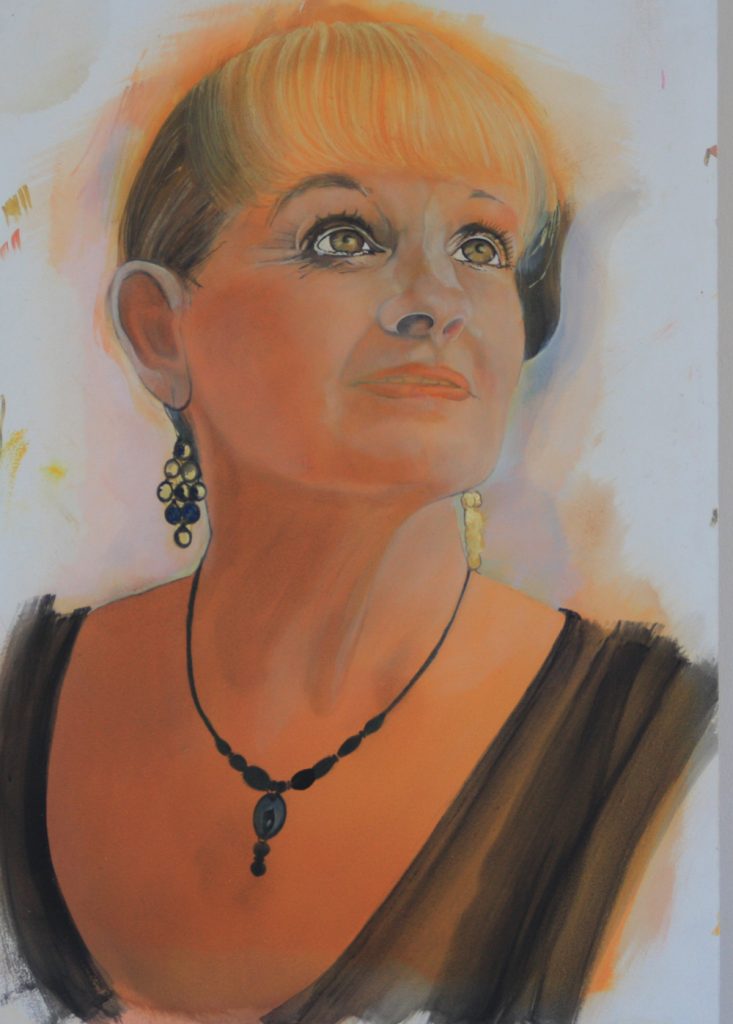
This painting was all about playing with the degree of intensity or strength of an individual color by building up layers of different tints and shades.
I worked with very thin paint and built it up gradually. Both shadows and lights were transparent.
I mixed about 50mls of the mid tone base colour and placed it in a sealed container suspended in Hot Weather Additive. This will keep the mix wet from drying out for at least a week as I take small amounts from it to mix our dark and light tonal changes.
- Initially I applied weak tones by increasing the Additive to the midtone mix.
- I gradually increased the darkness or strength of the initial colour by adding more of the midtone mix with each layer.
- Later I further darkened the colour for where it was needed by adding small amounts of darker browns or black.
- For the cheeks I added a little red to the mix and blended it into the surrounding colours with a very soft dry brush, just like putting blusher on.
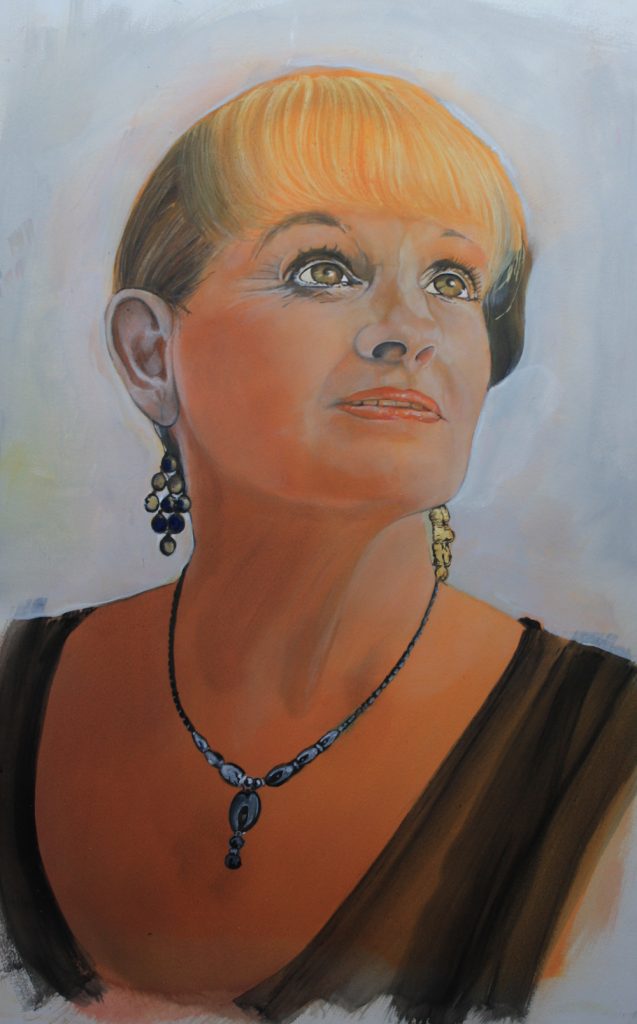
- I then used a range of hues with white to soften tones, especially towards the final stages, gradually increasing its strength also to indicate where the light fell on the face.
I never finished this painting. While demonstrating some effects I managed to damage it.
Click Here to Start Session 4
These artist’s notes are copyright to Graham Baker and may not be shared or copied without permission. Any enquiries, please email to grahambaker@gmail.com.